Heusinkveld One Steering Wheel


Heusinkveld One Steering Wheel
New wheel, new feel! Ultra-light, ergonomically shaped, every button in reach, wireless & long battery life!
Truly different ergonomics & optimal access to inputs give you maximum control while racing. Low-latency wireless connectivity and packed with features such as 2-way shifter paddles, dual clutch paddles and RGB telemetry leds.
Compatibility
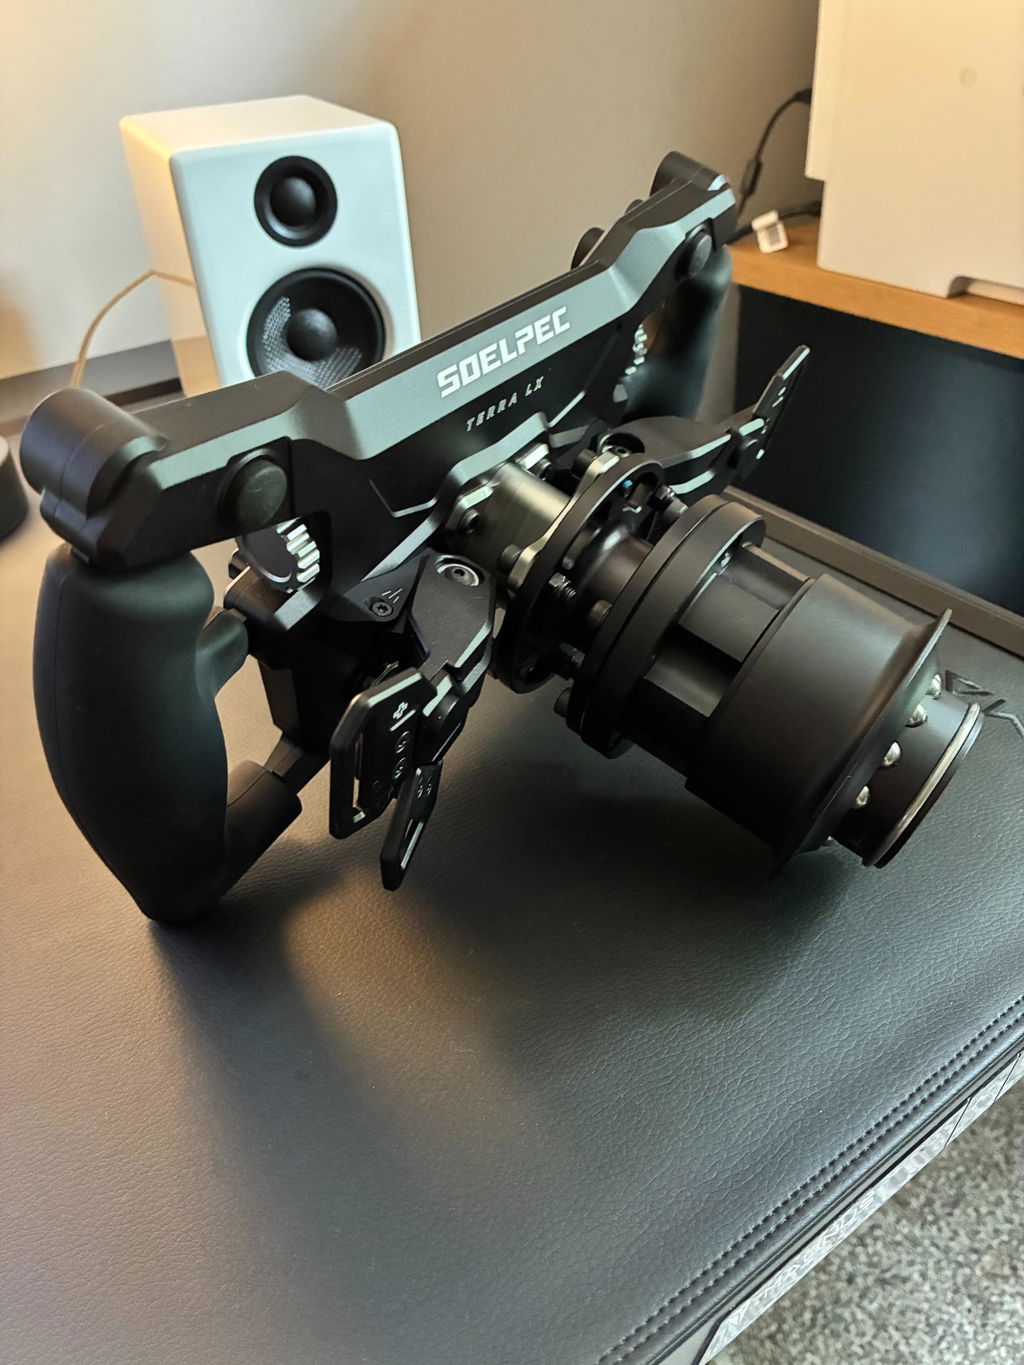
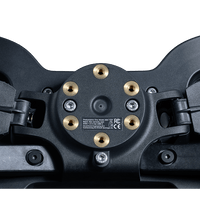
At the rear of Heusinkveld One is an integrated 50,8mm threaded hub. This means that there are various wheelbase quick releases which can be mounted directly to the Heusinkveld One steering wheel.
If your quick release has different mounting pattern, make sure to check out the optional Heusinkveld mounting adapter. It converts the 50,8mm hub pattern to a 70mm pattern and has a depth of only 15mm.
Adjustment options
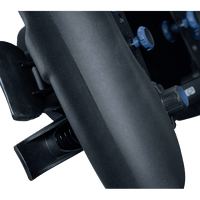
Heusinkveld One features 2-way shifter paddles with adjustable length.
The wheel has dual clutch paddles with configurable axis. Combined or seperate outputs. Output curve adjustments. You can se bite-point settings per clutch paddle.
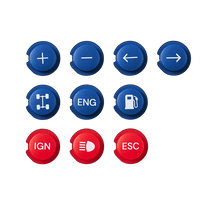
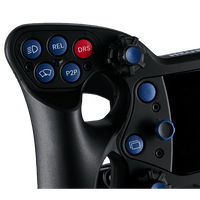
The steering wheel has 14 push buttons. A total of 24 buttons are supplied with the wheel (14 installed, 10 extra). The position of each button can be changed.
Freely configurable controller button output numbers and keyboard outputs. Combined or separate outputs.
Using the function layer and long-short press functionality, up to 4 different outputs can be defined for every single physical input.
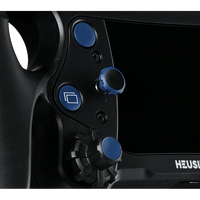
The 9 RGB telemetry leds are freely configurable using SimHub software.
The brightness of all leds is freely configurable. The H-icon can be dimmed or disabled.
Weight: 1024 grams
Wheel Diameter: Appr. 270mm at position of hands
Material: Main components made of fiber-reinforced composites
Inputs: 14x buttons, 4x push rotary encoders, 2x 7-way switches, 2x push-pull shifter paddles, 2x clutch paddle
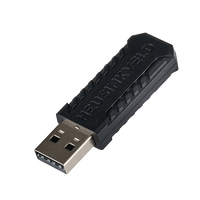
Connectivity: Wireless (dongle included)
Plug & Play: Yes
Software: Heusinkveld SmartControl (included) and SimHub (third party software for control of telemetry leds. Available in free and licensed version)
RGB Telemetry Leds: 9x located in the center panel
Mounting Pattern: Integrated 50,8mm threaded hub. Optional adapter to 70mm hub available.
Product Dimensions: 280x163x95mm (WxHxD)
Battery Capacity: 2800mAh
Type of Simracer:
Suitable for professional driver training, Esports, commercial use, home use
Type of Cars:
Formula cars, GT cars, Endurance prototypes.
ADJUSTABILITY
Shifter Paddles:
Push & pull functionality, paddle length adjustment. Configurable combined or separate outputs per paddle and for push/pull.
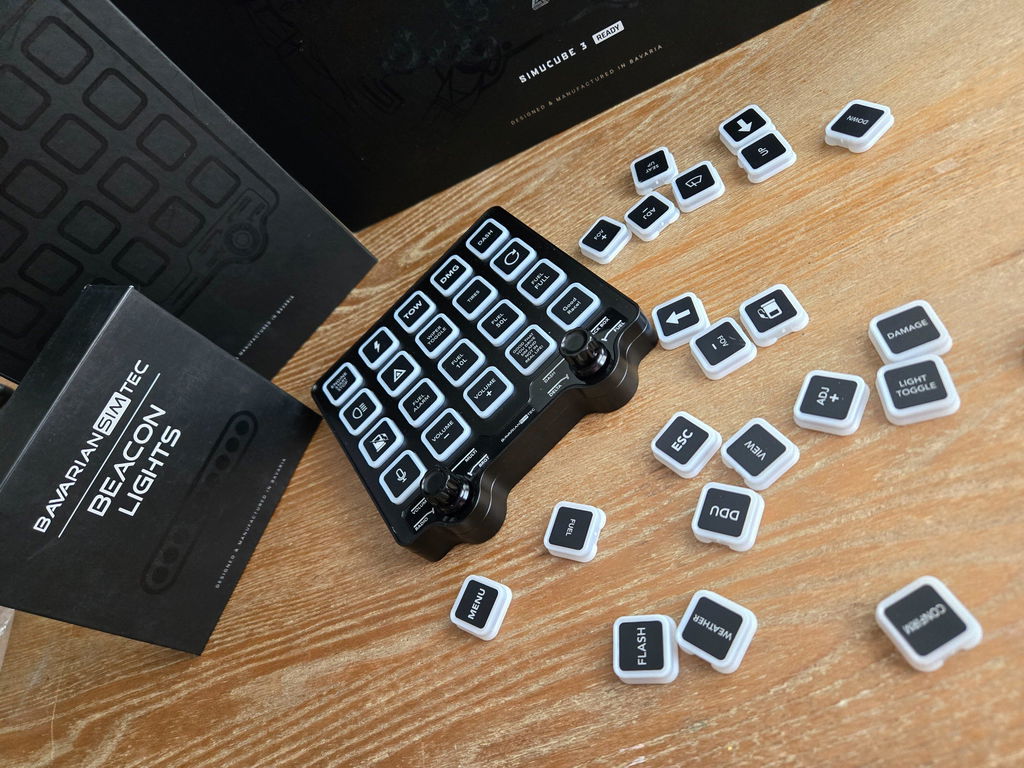
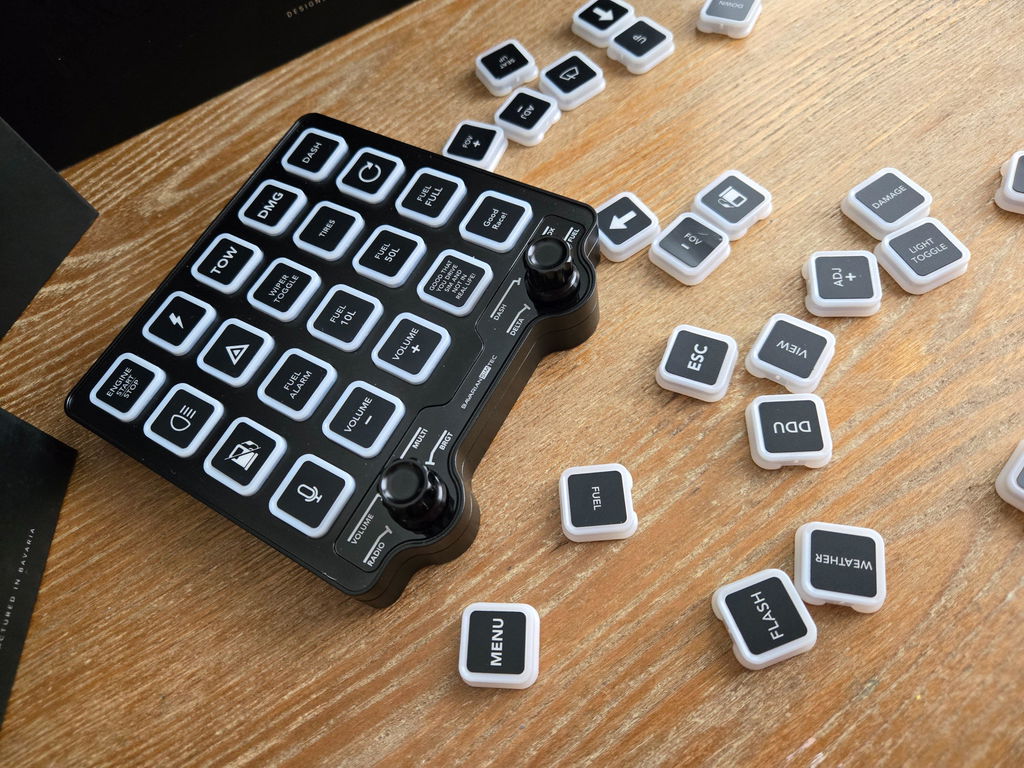
Button Covers:
14 buttons position, 24 button covers supplied. Interchangeable.
Button, Rotary and 7-way Switch Output:
Freely configurable controller button output numbers and keyboard outputs. Combined or separate outputs.
Multiply Outputs:
Up to 4 different outputs per physical input with the function layer and short/long press functionality.
Clutch Paddles:
Configurable axis. Combined or seperate outputs. Output curve adjustments. Bite-point settings per clutch paddle.
RGB Telemetry Leds:
Configurable via SimHub
Illuminated H-icon:
Adjustable brightness or disabled
All other leds:
Adjustable brightness
2 Angled Mounts (Left & Right)
2 m6x16mm Screws
We ship from Huntington, CA. Orders placed before 11am PST will ship the same day, while orders placed after 11am will ship the next business day.

ADD LIGHTNESS
Low weight & low inertia. Created with high-end composites, Heusinkveld One combines ultimate freedom of form with lightness and exceptional material strength.
COMFORT REIMAGINED
Shaped to support your hands. Grips with a large contact patch & less pressure points.
Race in comfort with an ergonomically shaped wheel and paddles without sharp edges.


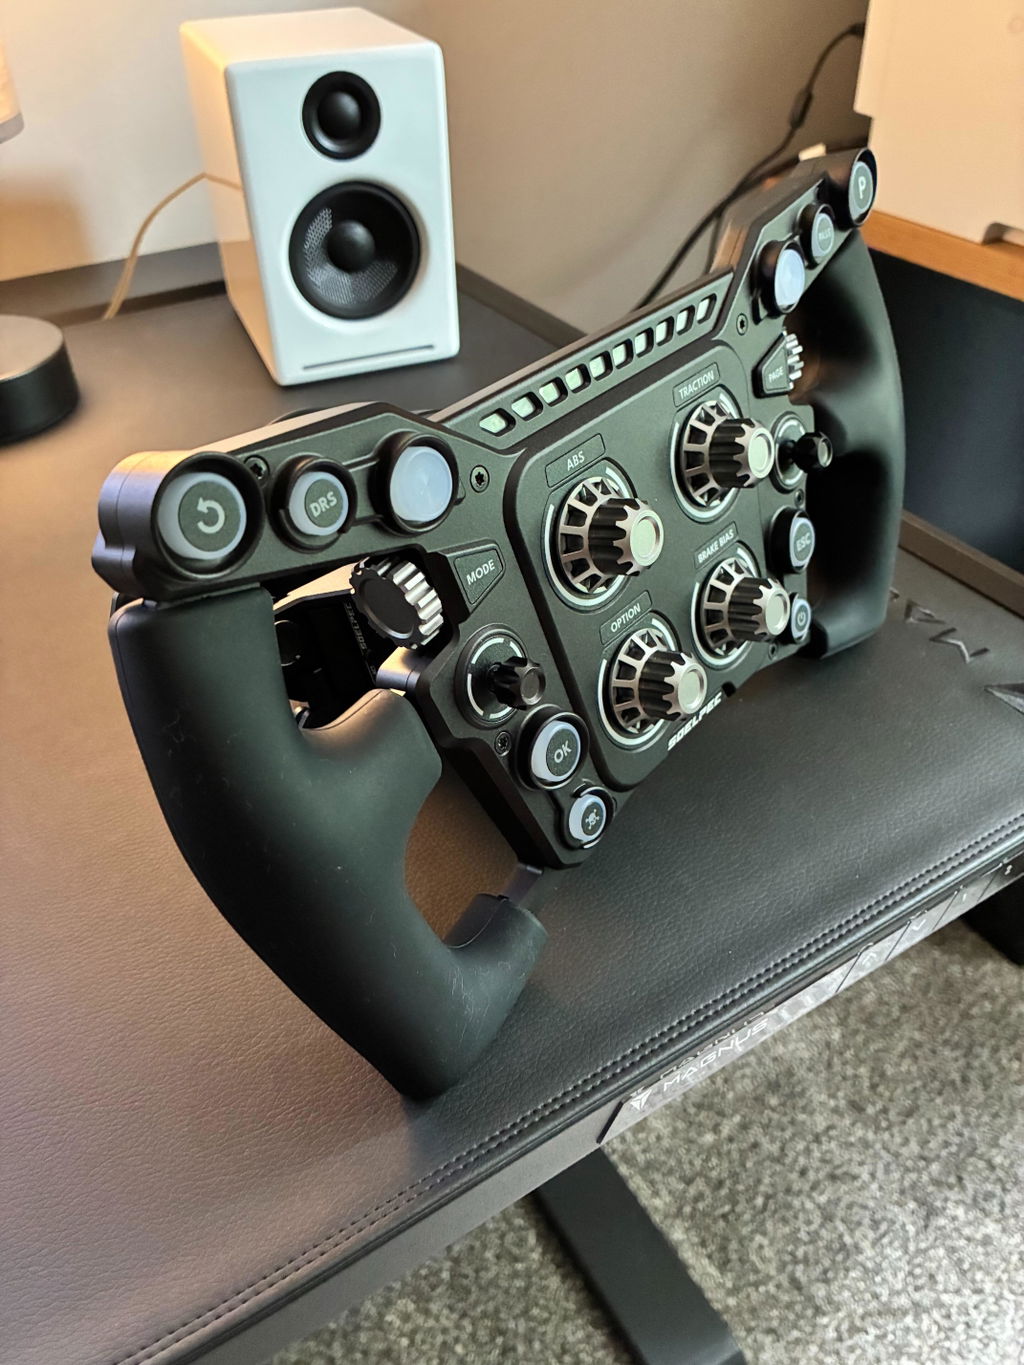
MAXIMUM CONTROL
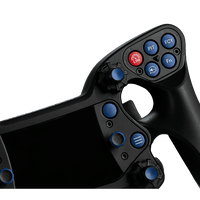
Keeps your hands on the wheel. Every button, right at your fingertips.
Adjustable 2-way magnetic shifter paddles as standard. Soft to push, firm to pull.
Four push rotaries with grippy caps. Two 7-way multifunction switches. Dual clutch paddles.
EASY WIRELESS COMPATIBILITY
Super quick response times. Featuring our own ultra low-latency wireless protocol.
Compatible with most wheelbases. Wireless dongle included, no wire clutter. Long battery life.


RGB TELEMETRY LED
The dead front panel of Heusinkveld One contains 9 configurable RGB telemetry leds. Seven leds are in a horizontal row near the top of the panel. Two leds are in the edges near the bottom of the panel.
These RGB leds can be controlled via external SimHub software. You can configure them to show telemetry output such as RPM’s, flag alerts, TC & ABS activation and many more.
FREQUENTLY ASKED QUESTIONS
The Heusinkveld One steering wheel can be mounted directly on your wheelbase using its 50.8mm threaded hub, compatible with most quick release systems or adapters.
To use a 70mm quick release setup, the optional Heusinkveld Steering Wheel Adapter (HE-SW-ADAPT) is recommended.
The product does not work (correctly) with consoles such as Xbox or PlayStation.
The Heusinkveld One steering wheel allows owners to customize the layout of its 14 pushbuttons. A few extra buttons have been supplied with the wheel.
You can also change the length of the shifter paddles.
Please refer to the manual for instructions on how to do this easily.
When you are finished racing, there is no need to manually turn off your Heusinkveld® One steering wheel. It will automatically turn itself off after a period of non-activity.
In order to wake the wheel up again, press any button on the wheel. The wheel will automatically establish a connection again with the dongle. The connection status led will first blink purple and then green for a few seconds when the connection has been re-established.
Your Heusinkveld® One steering wheel features 9 configurable RGB telemetry leds. Using SimHub software, these leds can be used to show information such as RPM, flag warnings and TC/ABS activity (depending on simulator software support for these features).
Both grids of 5 thumb buttons and the 4 push-buttons next to the panel can be rearranged to your personal preference. Please consult the manual for instructions and take care when tightening the button guard bolts: do not overtighten
Using SmartControl, you can double or quadruple outputs from your Heusinkveld One wheel, enabling 100+ configurable outputs.
1. Function Key (Fn) Method:
Assign a function button (Fn) to any wheel input. When pressed, a green Fn icon lights up and all other inputs can trigger alternate outputs.
2. Short Press / Long Press Method:
Configure different outputs depending on whether a button is pressed briefly or held longer.
When you unpack the wheel it is in transport mode. It must be activated before first use. Insert a powered USB-C cable in the wheel to activate the wheel. The USB-C port is at the bottom of the wheel.
The dongle and wheel are pre-paired.
Press any button on the wheel to establish the connection.
Your Heusinkveld® One steering wheel requires little to no maintenance. You can clean it using a damp cloth: no cleaning agents are necessary.
Avoid using dry cloths, as they can be abrasive and may damage the wheel’s surface.
Both grids of 5 thumb buttons can be rearranged to personal preference by removing the button guards using the provided Torx 10 tool. Unscrew both bolts from either button guard to release the guard.
Buttons can be exchanged between all 10 positions. Please take care while re-installing the button guards: The buttons must be lined up perfectly horizontal, so they slide over their guide notch when pressed.
Test if you can press the buttons before screwing down the button guard (gently hold down the button guard with your thumb while testing). If necessary, realign the buttons and test again.
IMPORTANT: Please take care while tightening the button guard bolts and prevent overtightening. Only a very light torque is needed to secure the button guards.
The 4 push-buttons next to the panel with RGB LEDs can also be changed. First remove the caps of the multifunction switches by pulling them upwards. Then proceed to remove the panel bolts with the Torx 10 tool. The rest of the procedure is similar to changing the thumb buttons.
When reinstalling the caps of the multifunction switches, note the indentation in the shaft which is also present on the inside of the cap.