Compare the Ultimate+ Pedal Adjustment Options
The stiffest brake setting is not automatically the fastest. A well-tuned Heusinkveld Ultimate Plus setup starts with brake resistance that lets you modulate pressure confidently, then aligns pedal spacing, angle, and travel with your driving position. The brake has nine resistance settings, and the pedal plate has three positions.
It is easy to focus on the brake’s force rating, but a pedal that feels too stiff or sits at an awkward angle can make consistent braking harder. Choose an adjustment that supports repeatable pressure and comfortable control, not simply the highest setting.
This guide compares the adjustment options and explains how the Ultimate+ brake’s design, the pedal set’s specifications, and cockpit rigidity affect the result. Learn which changes influence pedal feel, what to prioritize when tuning, and how to assess whether your rig provides a stable foundation.
Key Takeaways
- Use deadzones and the custom pedal curve to shape reliable input at the start and end of brake travel.
- Choose a brake-force target that supports repeatable pressure, then evaluate the feel on a reference corner before changing it again.
- Account for the Ultimate+ dampers, dimensions, and mounting points when planning how the three-pedal set will fit your rig.
- Prioritize a rigid pedal deck and stable seating position so braking force doesn’t shift the cockpit or your posture.
Pedal adjustment options
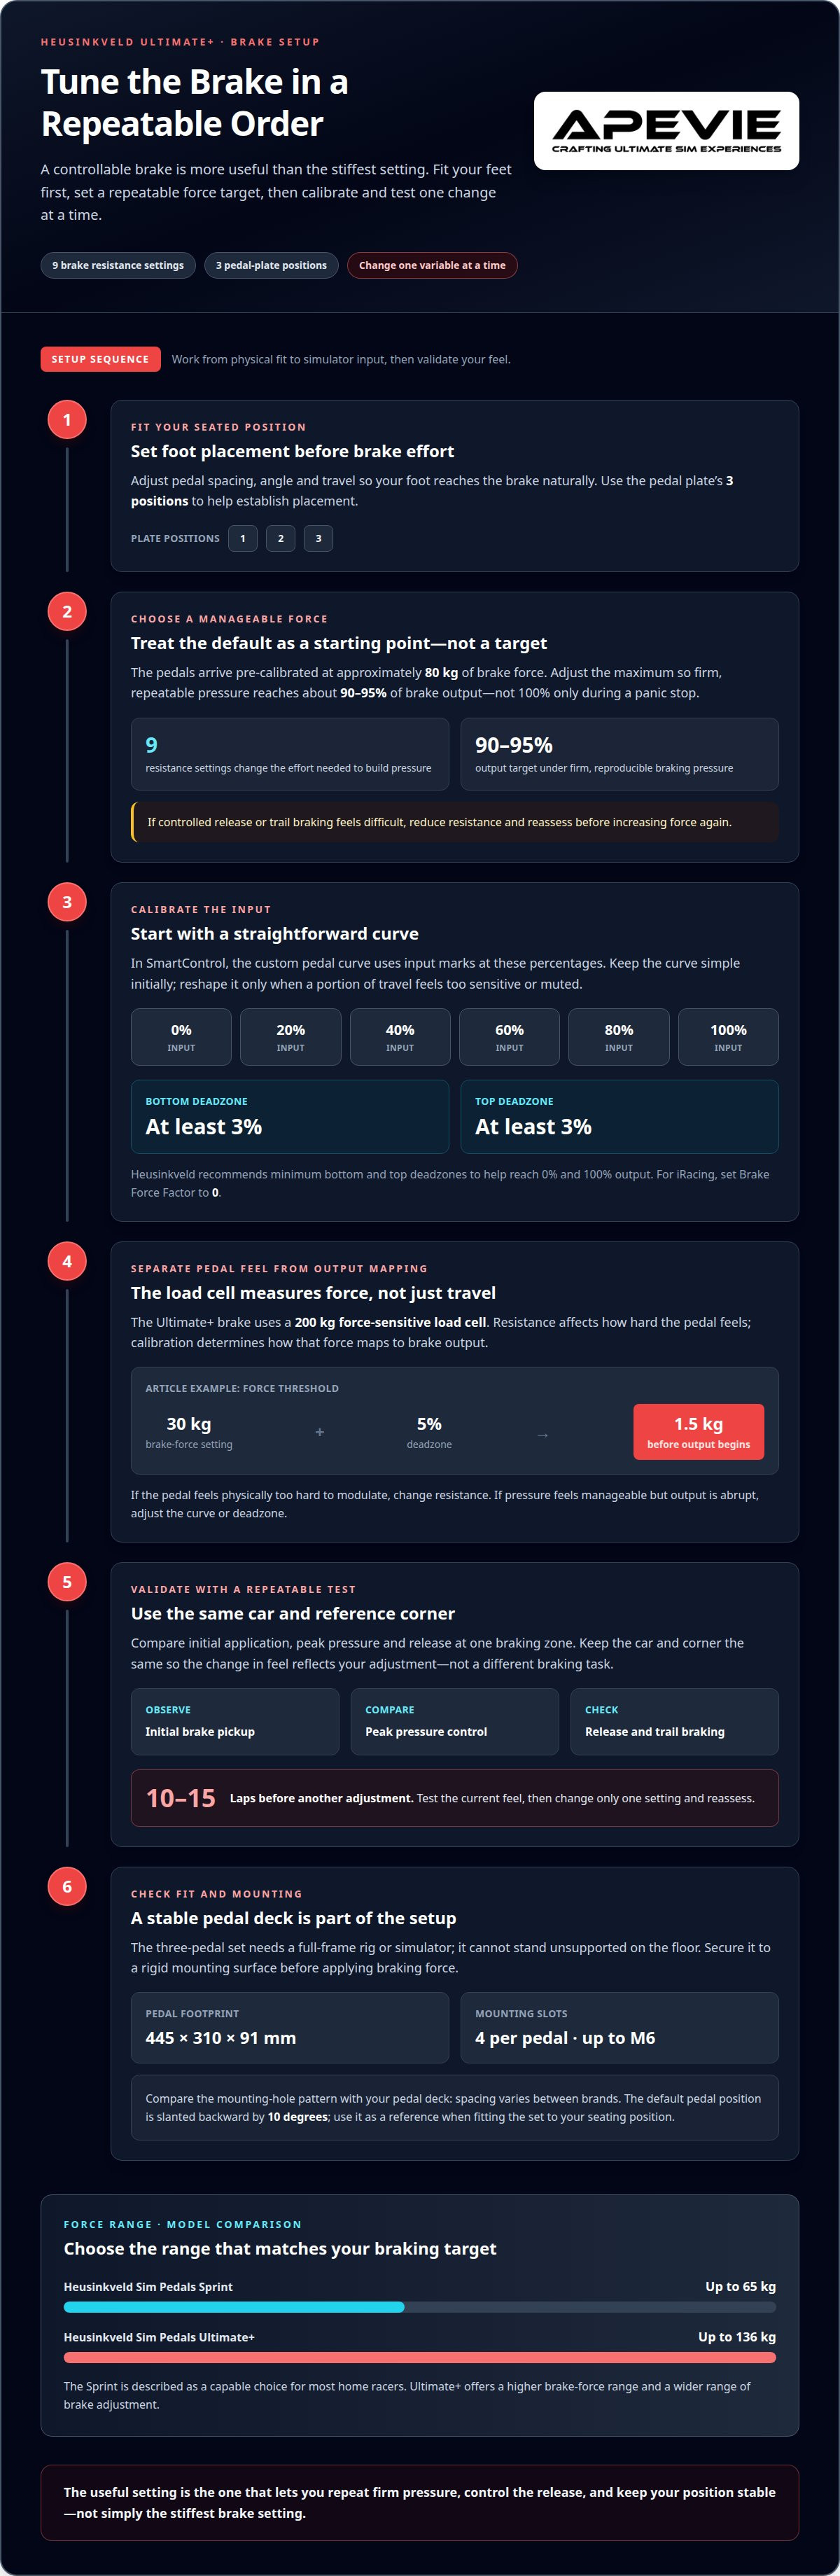
The Ultimate+ brake has nine resistance settings, and its pedal plate has three positions. These adjustments let you tune brake effort and foot placement together. For a Heusinkveld Ultimate Plus setup, first set pedal spacing, angle, and travel to suit your seated position. Then adjust resistance so you can apply pressure without shifting your hips or stretching your ankle.
The pedals arrive pre-calibrated at approximately 80 kilograms of brake force. Treat that as a starting point, not a target. Set maximum brake force so firm pressure reaches 90-95%, rather than reaching 100% only during a panic stop. If the brake feels too stiff for controlled release, reduce resistance and reassess your trail braking.
| Adjustment | Options | What it changes |
|---|---|---|
| Brake resistance | 9 settings | Effort required to build brake pressure |
| Pedal plate | 3 positions | Pedal placement relative to your feet |
| Pedal geometry | Spacing, angle, travel | Reach, ankle movement, and comfort |
| Input curve | 0%, 20%, 40%, 60%, 80%, 100% | How pedal input maps to output |
Choose resistance that allows repeatable pressure, then position the pedals so applying that pressure feels natural.
There isn’t one best setting for iRacing, Assetto Corsa, and ACC. Start with a consistent physical brake feel, then calibrate each simulator’s input. For iRacing, set Brake Force Factor to 0. Car characteristics affect braking, so tune around a reference corner instead of chasing a universal preset. A Heusinkveld Ultimate Plus setup should retain a familiar brake feel across titles while allowing game-specific calibration.
In SmartControl, the custom pedal curve uses input marks at 0%, 20%, 40%, 60%, 80%, and 100%. Keep the curve straightforward initially, then reshape it only if a part of pedal travel feels too sensitive or muted. Heusinkveld recommends a minimum 3% bottom and top deadzone to help reach 0% and 100% output. After each brake-feel adjustment, test for 10-15 laps before changing another setting.
Ultimate+ brake design and feel
The Ultimate+ brake uses a 200 kg force-sensitive load cell. It measures applied force, rather than relying only on pedal travel. Two presses can move the pedal a similar distance but apply different force. The load cell translates that pressure into a braking signal, so tuning should prioritize repeatable leg pressure. Resistance changes how hard the pedal feels, while calibration determines how that force maps to brake output.
Consider the interaction between brake force and deadzone. With a 30-kilogram brake-force setting and a 5% deadzone, the load cell registers 1.5 kilograms before brake output begins. That initial threshold can affect how gently you pick up the brake. If early pressure produces output sooner than expected, adjust the deadzone or force mapping, then check whether the first part of pedal application feels controllable. Change one variable at a time.
Set maximum brake force around pressure you can reproduce under hard braking, not an occasional peak. The useful target lets you build substantial pressure while retaining control through release. For amateur home sim racers, a 75 kg brake-force setting may hinder trail braking. A very high target can demand more force than you can apply consistently, making it harder to ease off smoothly as the car turns.
For consistency, choose a reference corner and tune the brake feel around it. Use a braking zone where you can compare initial application, peak pressure, and release across repeated attempts. If the pedal feels predictable at first but difficult to modulate near peak pressure, change resistance before reshaping the input curve. If pressure feels manageable but the output is abrupt, adjust the curve instead. Keep the same car and corner for each comparison so any difference in feel reflects your adjustment, not a different braking task.
Ultimate+ 3-pedal set specifications
The Ultimate+ set combines throttle, brake, and clutch pedals with distinct damping. The throttle uses a one-way hydraulic damper, while the brake and clutch use two-way hydraulic dampers. This affects pedal return and resistance through the movement, so consider the feel of all three controls when choosing a set, not just the brake.
Compared with Heusinkveld Sim Pedals Sprint, the Ultimate+ allows a higher brake-force range: the Sprint’s maximum brake force is 65 kg, while the Ultimate pedals allow up to 136 kg. The Sprint is a capable choice for most home racers; choose Ultimate+ if your target includes heavier braking forces or a wider range of brake adjustment.
| Specification | Ultimate+ detail |
|---|---|
| Dimensions | 445 × 310 × 91 mm |
| Set weight | 6.64 kg |
| Pedal mounting | Four slots per pedal, accepting bolts up to M6 |
| Controller mounting | Four mounting holes |
| Brake elastomer stack | Three elastomers, 84 mm combined length |
| USB controller | Custom-made 12-bit controller |
For rig compatibility, mount the pedals to a full-frame rig or simulator; they can’t stand unsupported on the floor. Each pedal’s four slots accept bolts up to M6, but mounting-hole spacing varies between brands, so compare the pattern with your pedal deck before installation.
For safety, secure the set to a rigid mounting surface before applying braking force. The pivots are designed to function after a million duty cycles, and the pedals carry a 2-year warranty. That period gives the warranty duration, while the stated specification does not define coverage terms or a maintenance schedule.
The default pedal position is slanted backward by 10 degrees, which gives you a starting reference for fitting the set to your seating position. The 445 × 310 × 91 mm footprint also helps assess pedal-deck space. Plan for the controller’s four mounting holes and keep the cable route clear of pedal movement.
Cockpit rigidity
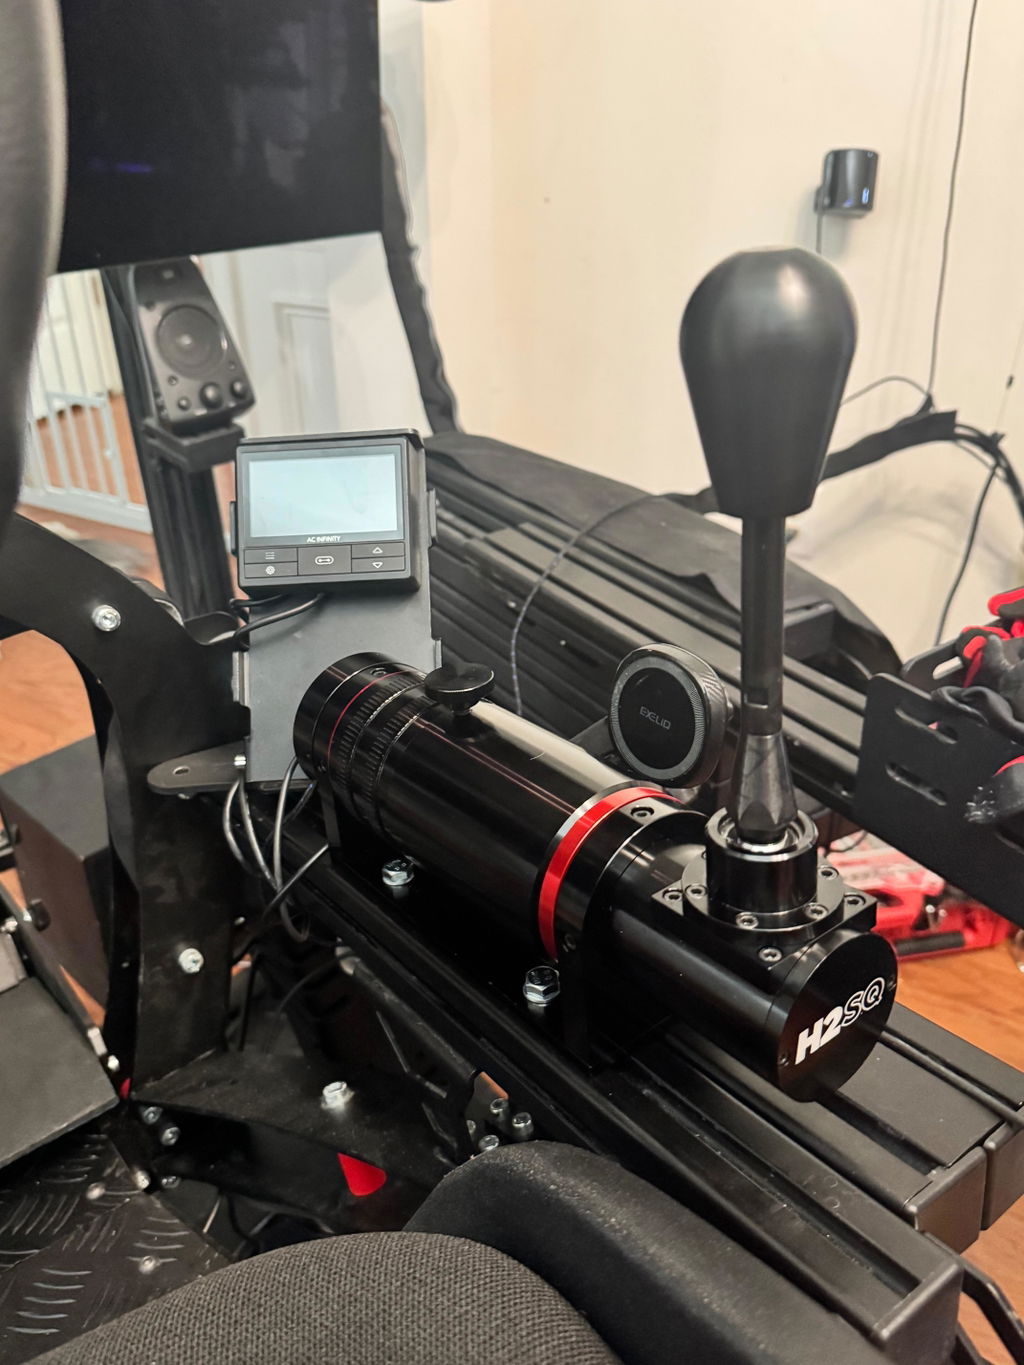
The Ultimate+ brake can experience up to 140 kilograms of force, so its mounting base matters. If the pedal deck flexes under pressure, the pedals move instead of giving your foot a stable reference. That movement can make brake application feel different from lap to lap. Hard-mount the pedals to a rigid rig pedal deck or heel plate whenever possible, rather than leaving them freestanding.
A stable cockpit helps you maintain a consistent position on the pedals. Your pelvis should stay in place as you press the brake, and the deck should remain steady under load. If your seat shifts backward, your leg pressure and ankle angle can change during braking. Check the seat, pedal deck, and mounting points together: a rigid pedal plate alone will not stabilize a moving seat.
- Secure the base: Mount the pedals directly to a rigid pedal deck or heel plate.
- Check for movement: Apply firm pressure and watch for deck flex or loose mounting points.
- Set your position: Adjust the seat so your pelvis stays supported during hard braking.
- Assess comfort: Confirm that the pedal angle remains comfortable through longer sessions.
Check these points before increasing brake force. A deck that moves under firm pressure can mask the effect of a pedal adjustment, making it harder to judge resistance or repeat a braking point. Once the mounting is steady, test the same braking zone over several laps. Notice whether your body stays planted and the pedal remains in a consistent position beneath your foot.
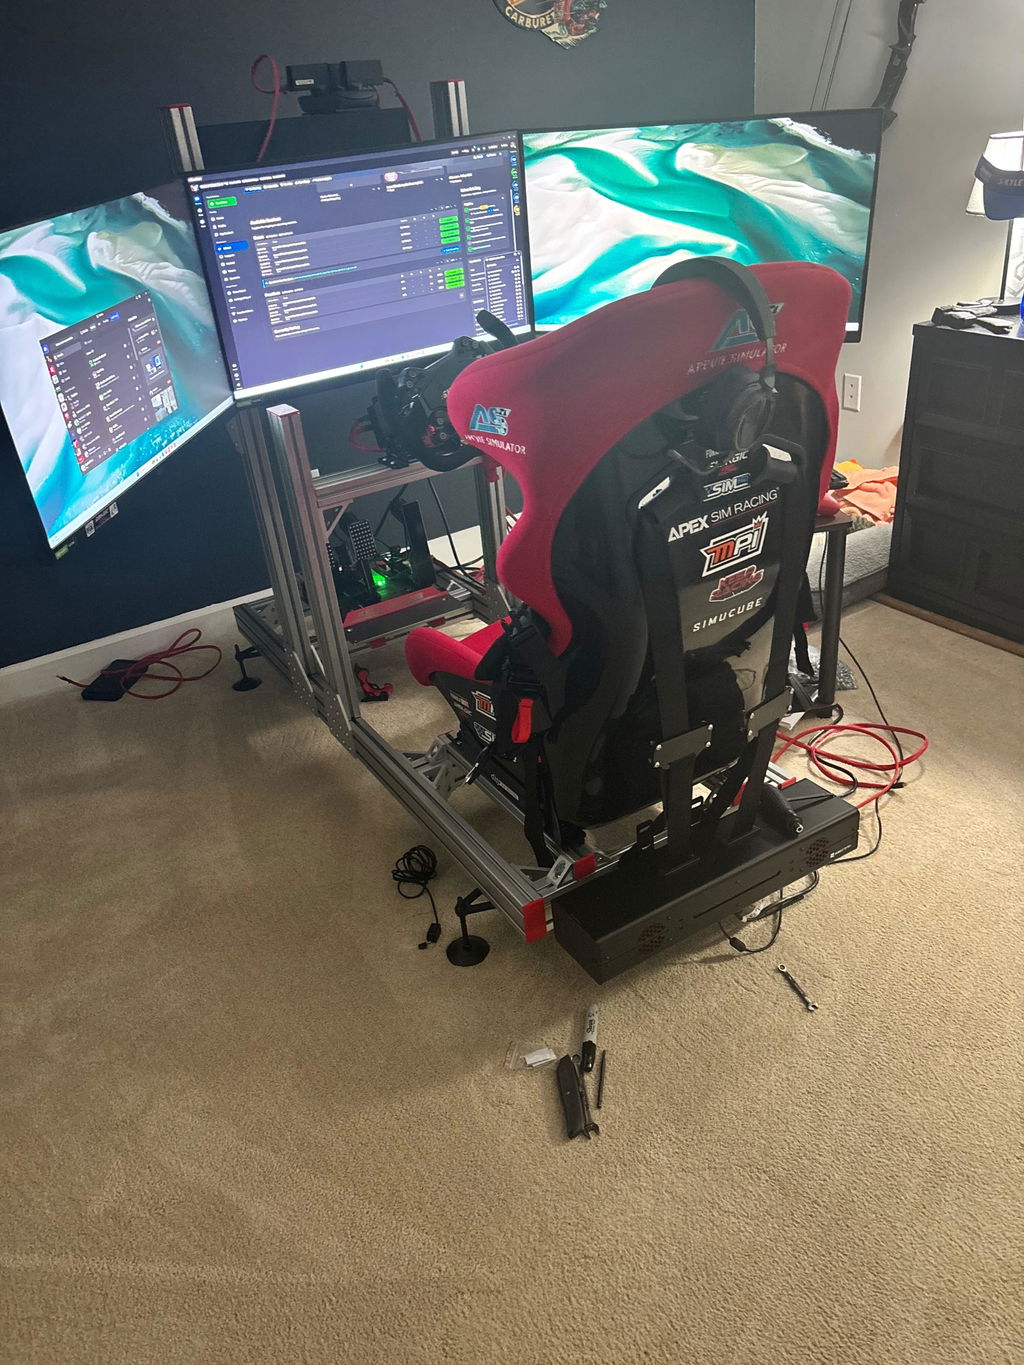
Choose a full-frame cockpit if your current setup cannot hold the pedals securely under braking. A stable base should support both your seating position and the pedal assembly while allowing comfortable pedal angles for extended driving. The test is straightforward: under strong input, your pelvis stays put, the deck does not shift, and your feet reach the pedals naturally. Address movement before fine-tuning brake feel.
Apevie Simulators: Heusinkveld Sim Pedals Ultimate+
Apevie Simulators offers Heusinkveld Sim Pedals Ultimate+ as part of its custom high-performance racing simulator options. Turn to Apevie when selecting pedals for a complete build or considering how they will fit with your cockpit and other hardware. The right choice depends on your preferred braking feel, your rig’s rigidity, and how you plan to use the full system.
Apevie also offers Heusinkveld Sim Pedals Sprint and Sigma Integrale DK2 and DK2+ motion systems. These options make it possible to consider pedal choice alongside the rest of your simulator rather than treating each component in isolation. If you’re planning a complete system, discuss how the pedals and cockpit requirements shape the build.
Contact Apevie Simulators to discuss your simulator plans and pedal requirements.
Make your next adjustment deliberate
Establish a baseline you can trust, then avoid changing several variables at once. A well-considered Heusinkveld Ultimate+ setup should feel predictable enough that you can focus on braking points, car balance, and traffic instead of compensating for the pedals. Let feedback from your driving guide the next adjustment rather than chasing a setting that looks ideal on paper.
Think of pedal tuning as part of the wider simulator decision. Your preferred seating position, driving style, and the rest of your hardware all shape what feels natural. If you’re planning a new build or refining an existing one, connect those choices to a custom high-performance racing simulator suited to your goals.
Contact Apevie Simulators for setup advice and discuss the direction you want for your simulator. A clear starting point makes it easier to tune with purpose and enjoy the drive.
Frequently Asked Questions
What are the Heusinkveld Sprint and Ultimate+ pedal specifications and features?
They’re separate pedal sets with different brake-force capabilities. The Sprint reaches a maximum brake force of 65 kg, while the Ultimate pedals allow up to 136 kg. Ultimate+ axes output values from 0 to 4095, regardless of SmartControl settings, and the pedals are compatible with PCs running Windows 10 or newer. Choose based on the brake range and adjustment flexibility you need.
What are the recommended Heusinkveld Ultimate+ brake, throttle, and clutch settings?
There is no single brake, throttle, or clutch preset that suits every driver and car. For the brake, prioritize a force target you can reproduce consistently. Calibrate the throttle and clutch separately in your simulator, then check that the displayed input follows your physical press and release. Keep these baselines stable before changing curves or other software settings.
How do I adjust brake force and pedal travel on the Heusinkveld Ultimate+?
Adjust brake resistance using its available settings, then set the pedal geometry to match your foot position and preferred movement. Treat mechanical feel and software input as separate variables: first settle on a comfortable pedal position, then refine the brake response in SmartControl. Test the result in your usual car and braking zone before making another change, so you can tell which adjustment affected the feel.
How much do Heusinkveld Ultimate+ pedals cost in the United States, including shipping and tax?
The total for a US order depends on the current pedal price, shipping charge, and applicable sales tax. These amounts can vary by order and delivery destination, so use the checkout total to assess the full purchase cost. Review the pedal set and any separately selected accessories as distinct items, since they can affect the amount due.